Fun crafts with Dollar Store Glass Gems!
 |
| Blue cracked glass ring |

This is a super fun craft to make that will only take an afternoon to make using dollar store glass gems. For this project, I used glass gems to create rings and magnets using several different techniques.
All you need are the following:
* Glass Gems from the dollar store (can be found in the floral section of the dollar store. I used colored glass gems from Dollar General) but clear ones work fine too.
* E-6000 Glue from Michaels
* Magnets from Walmart
* Bowl of ice water
* Baking sheet lined with parchment paper, both found at Dollar Tree
* Nail polish from Dollar General
 |
| Pink cracked glass rings. |
To make the cracked glass, the first thing you do is preheat your oven to 500 degrees. While it is heating up you can go ahead and line your baking sheet with parchment paper and arrange your glass gems on top of the parchment paper with the flat side down. Once your oven has reached the proper temperature, you can go ahead and put it in your baking sheet with the glass gems and set the timer for 20 minutes. I found that when using the larger glass gems, they didn't crack as nicely as the smaller ones. The cracks were larger but you didn't get that full crackle effect.
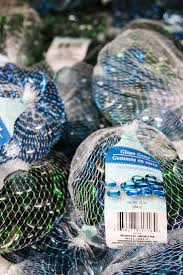 |
| Dollar store glass gems found in the floral section |
While the glass gems are baking, you can begin to prepare your bowl of ice water. Just fill up a metal or plastic bowl with cold water. Do not use a glass bowl because it may also crack. Put in a bunch of ice cubes to make the water really chilly. When your 20 minutes are up, immediately pull out the glass gems from the oven and toss them into the ice bath. You will hear a lot of crackling noises as the glass begins to crack. Let them sit in there to cool for several minutes. Once the crackling noises stop, you can pull them out to dry.
| Silver |
| Copper |
I also purchased some magnets as well to make fancy cracked glass magnets. If you like the look of the clear cracked glass, you can go ahead and start gluing the gem to the base of either a magnet or ring blank but sometimes people like color and/or pattern. For my rings, I used colored glass gems that I had purchased at my local Dollar General, but if you can't find the colored ones, you can also just use the clear gems and add color with nail polish on the back after cracking. Just paint the flat side of the glass gem.
 |
| Yellow cracked glass |
If the cracked glass isn't your thing, you can just take the glass gems and paint them with nail polish. I normally paint it with about 2 coats of color and then 1 coat of clear topcoat for added protection. For my gems, I used an iridescent nail polish that makes it look almost like a gemstone.
 |
| painted with nail polish |
 |
| I used iridescent nail polish on these |
 |
| Makes a lovely statement ring |
 |
| Gluing the ring blanks on |


If you want to glue on an image to the back instead, all you need to do is find an image that will work with the glass gem. I tend to put the glass gem on the image to see how it looks before adhering it. To glue the paper to the glass, paint the flat side of a glass gem with a thick coat of clear nail polish, then you can press the gem, flat side down, onto the image and then let it dry overnight. Once it is dry, you can then cut it out around the gem. You can find interesting images in catalogs, wrapping paper, and even image books that you can purchase at craft stores. I used a marbelized wrapping paper that I already had, for some magnets that I made (see below). You can also use fun images that you find in magazines or catalogs too.
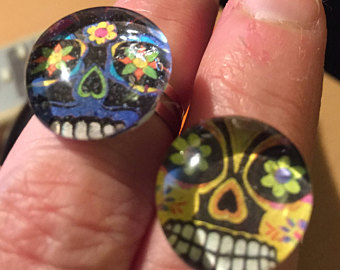 |
| Pictures from a catalog glued onto the back of the gem. |
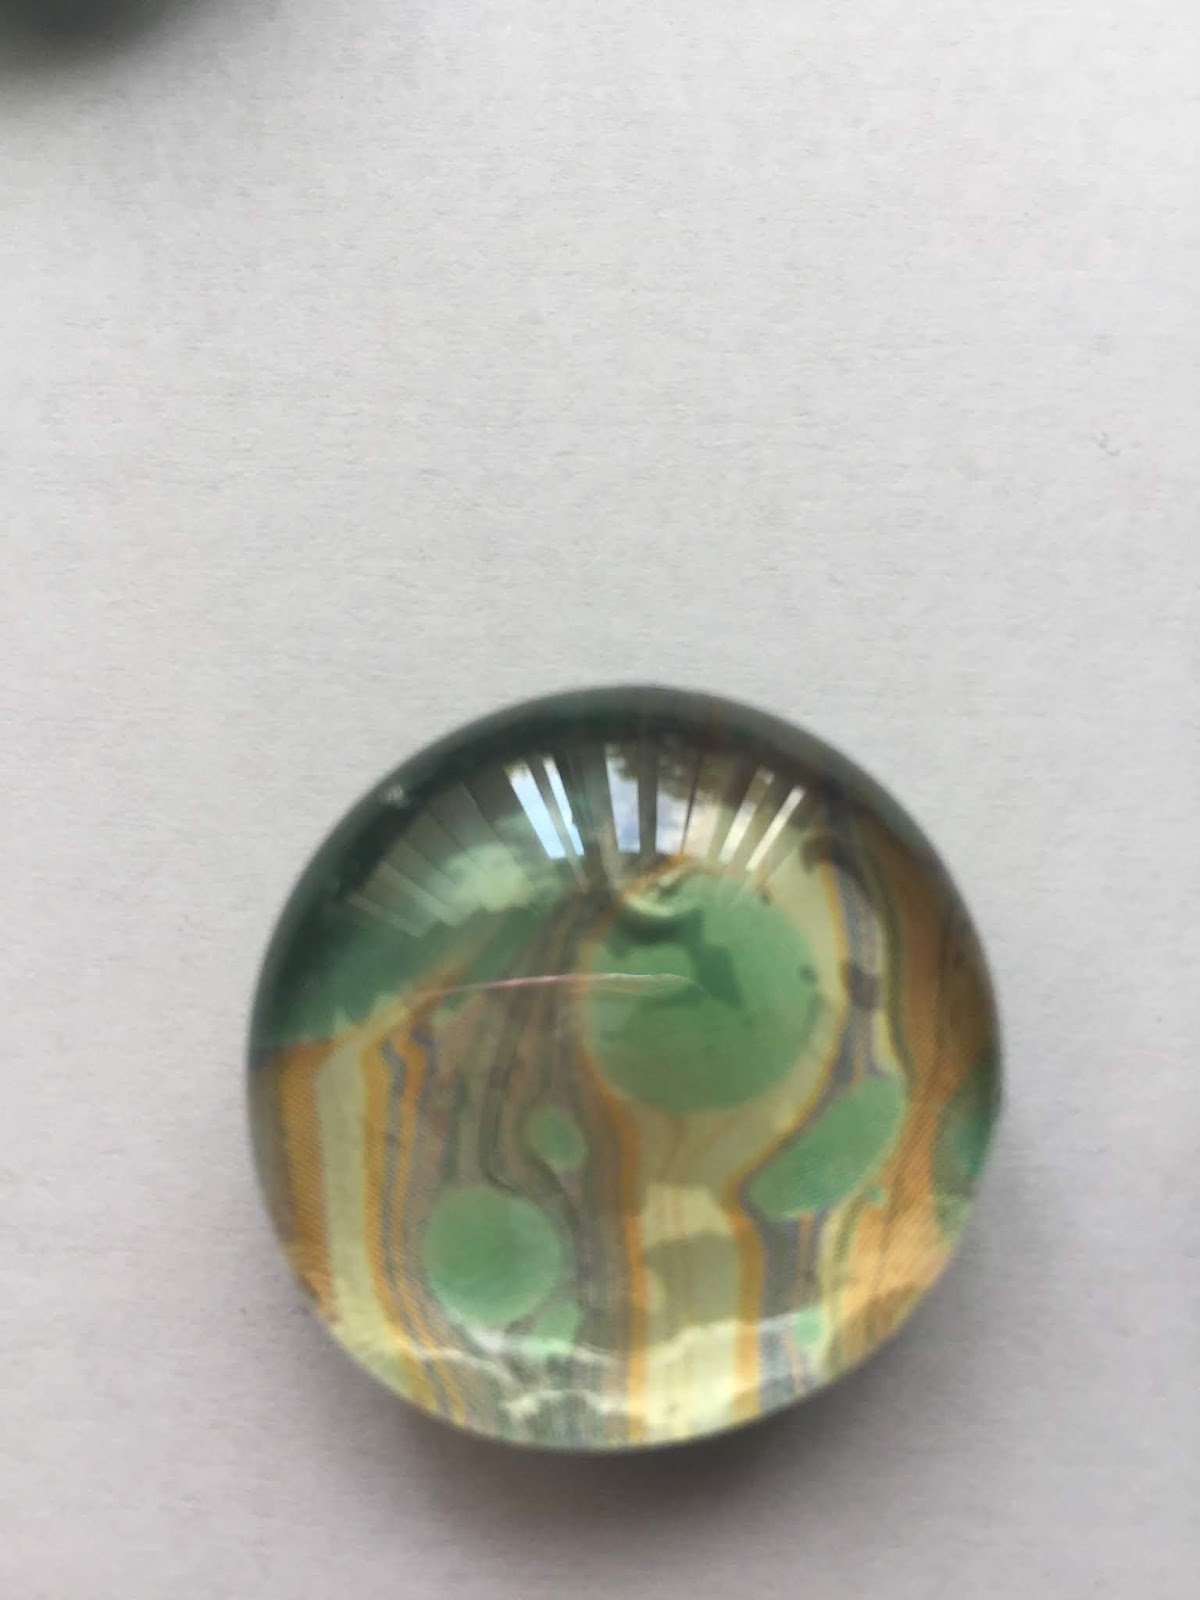 |
| Marbleized wrapping paper glued on the back |
 |
| Marbleized wrapping paper on the back |
 |
| Close-up of marbleized wrapping paper |
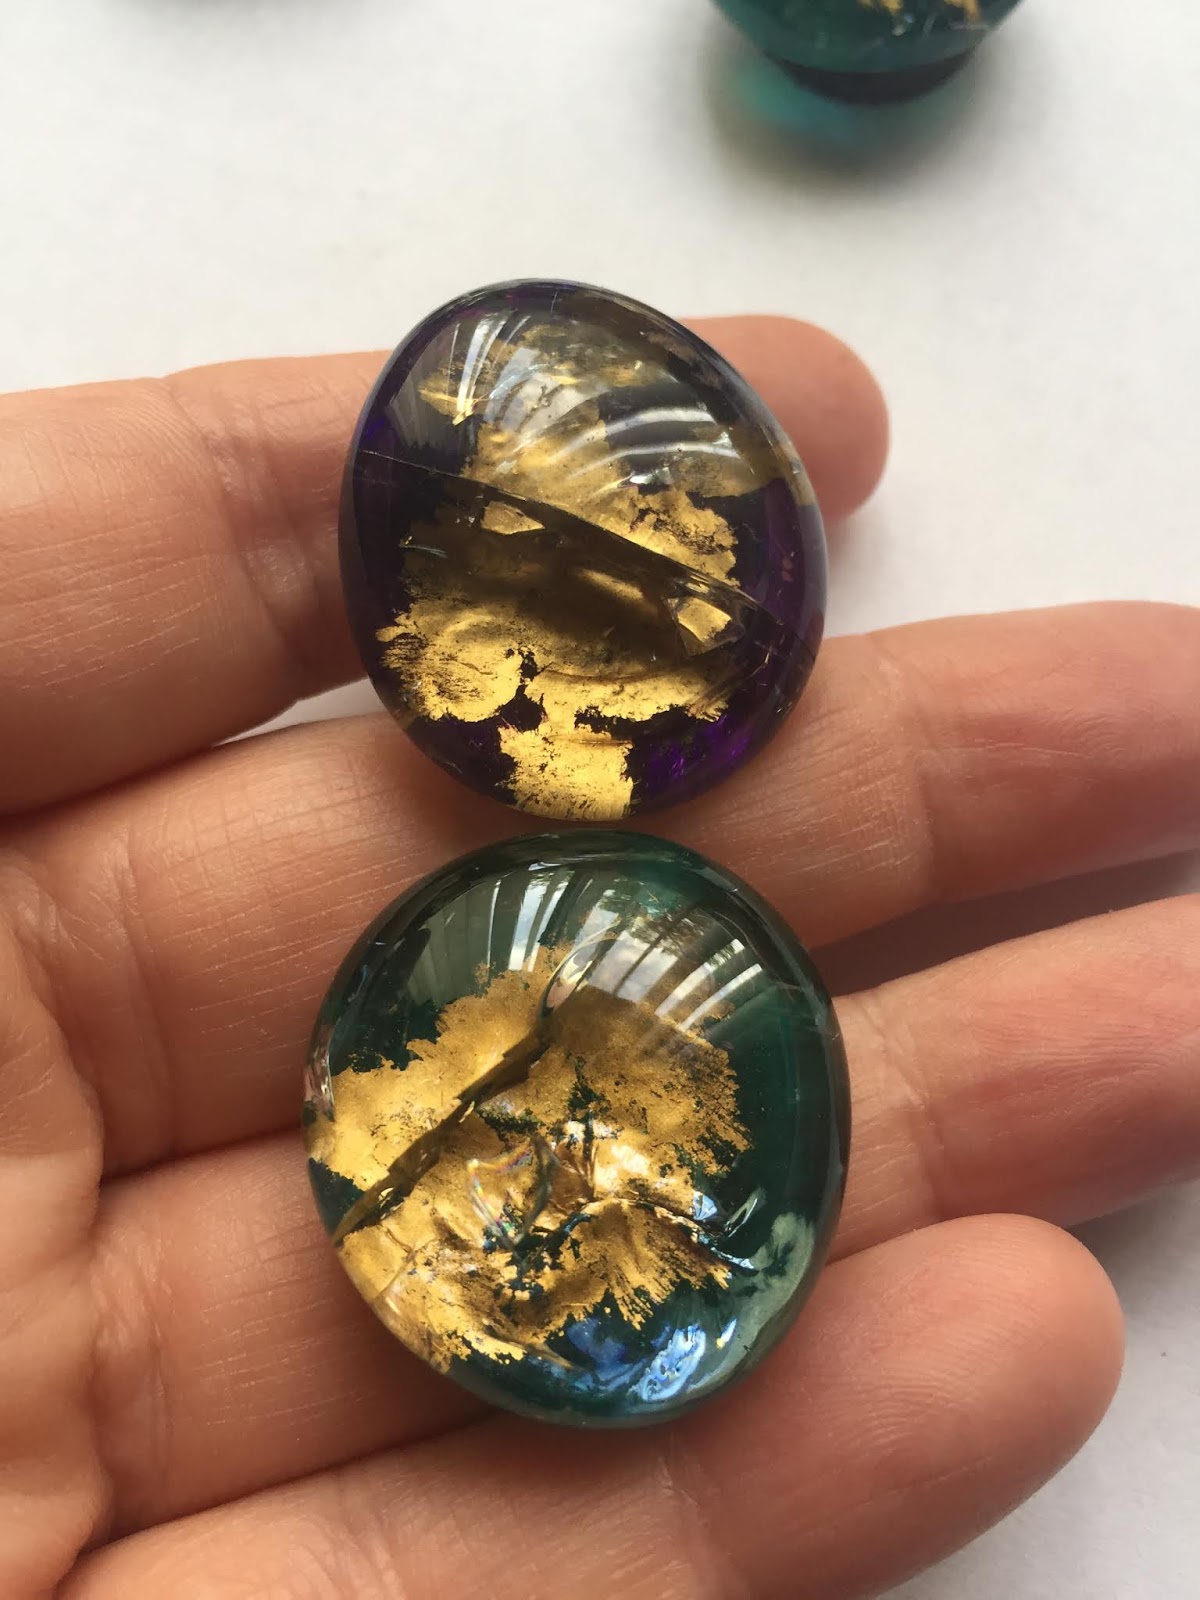 |
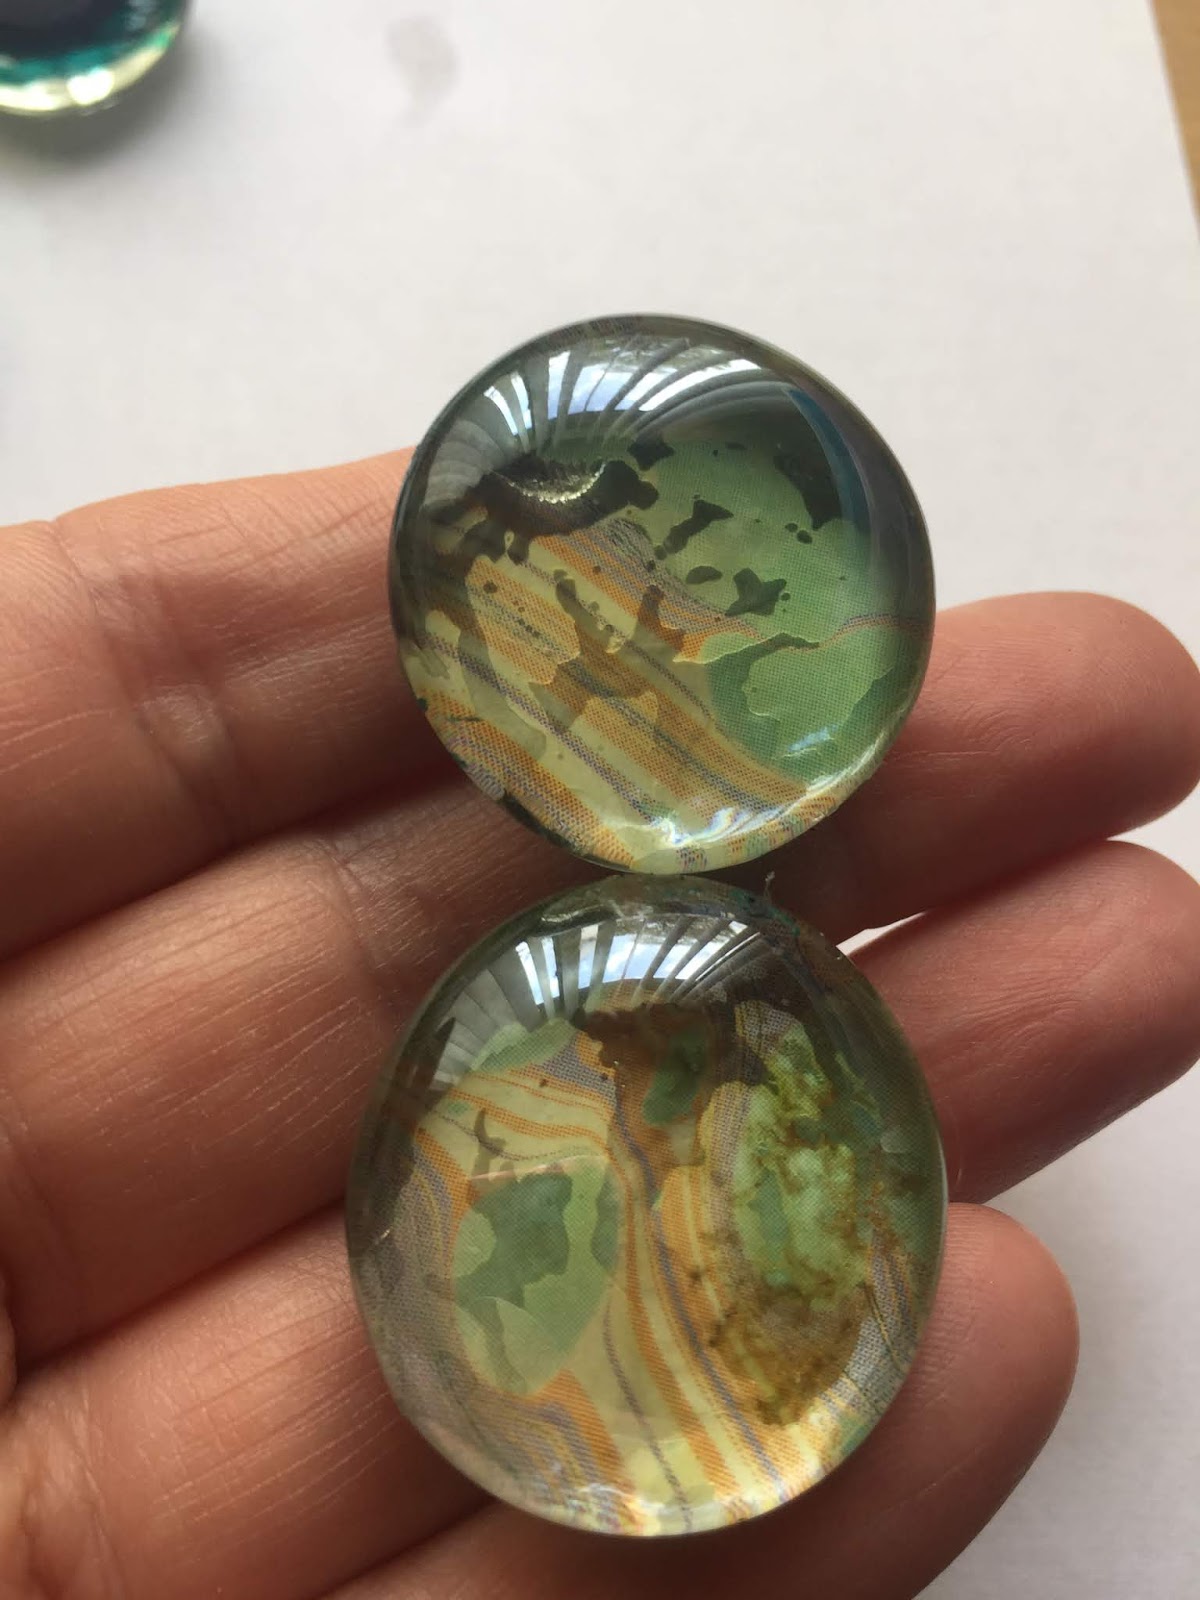
| Gold paint and green nail polish with magnets (I tried to crack these but the cracks were huge and you did not get a cracked effect) |

Gold paint and green nail polish
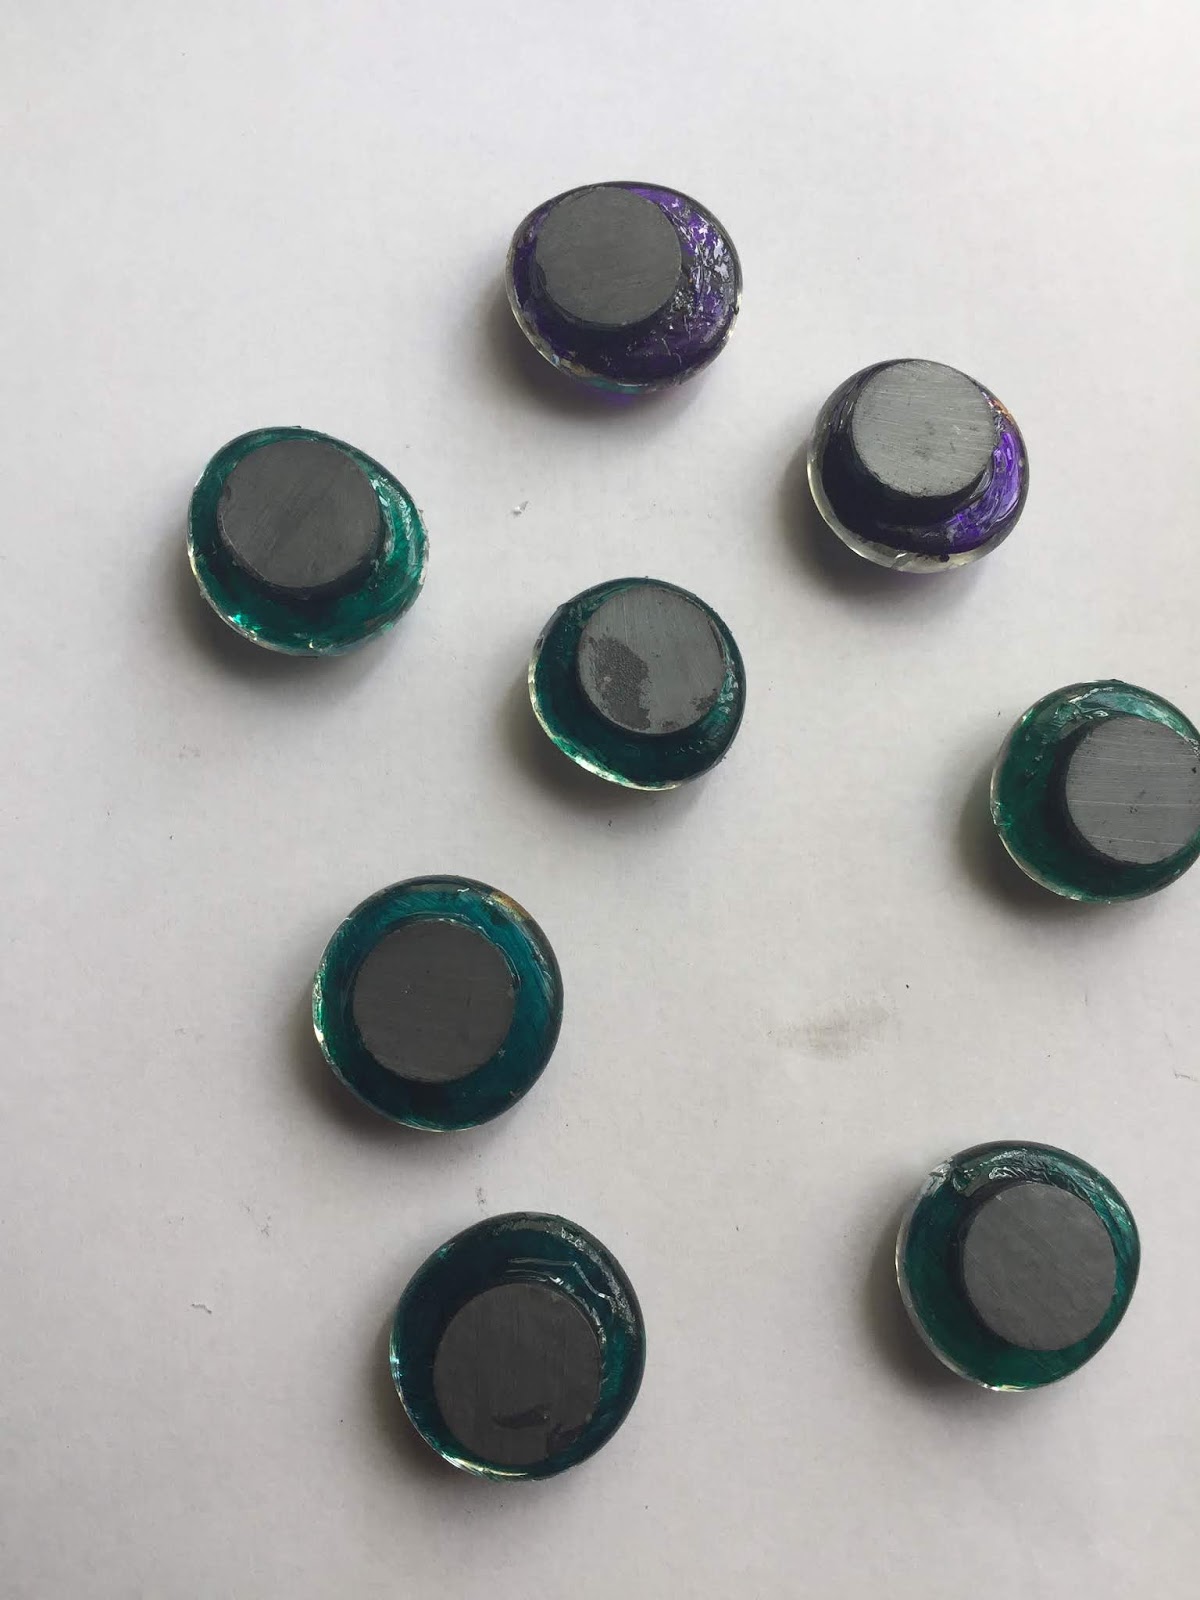
Magnets glued onto the back of the glass gems

When gluing the glass gems to the ring blank or magnet, just use a small dollop of the E-6000 glue on the back of the gem and then press the glued side, to the base of the ring or magnet and hold it for a few seconds to make sure that they adhere. I then carefully lay it gem side down, and let it dry for about an hour and you're finished!. You can make a lot of these and give them as party favors or just make them for yourself. You can create rings for any occasion like Christmas, Halloween, etc. The possibilities are endless! It's definitely a fun and frugal project to make!

Comments
Post a Comment